Repairing a Model 4 Membrane-Based (ALPS) Keyboard
Jim Wildgen has undertaken the arduous task of repairing a membrane keyboard. The following is what he wrote when he documented this task.
After purchasing my TRS-80 Model 4GA and working to get out up and running, I quickly discovered that several important keyboard keys weren’t functioning correctly. The shift keys were displaying characters and the J, K, L, and N keys were all behaving erratically – as though some wires were crossed in the keyboard matrix.
So, I dismantled the entire keyboard, cleaned the membranes, reassembled it, and now all the keys work correctly. I thought I would share this procedure with the community.
I hope this helps future members who face issues with similar membrane keyboards.
The following are the steps which Jim took. Of course, your mileage may vary. If you do any of the below, you do it completely at your own risk. If you ARE successful and wish to augment any of the below instructions and/or pictures, please let me know!
Note: Jim also prepared a PDF of his steps, which can be downloaded here.
1.
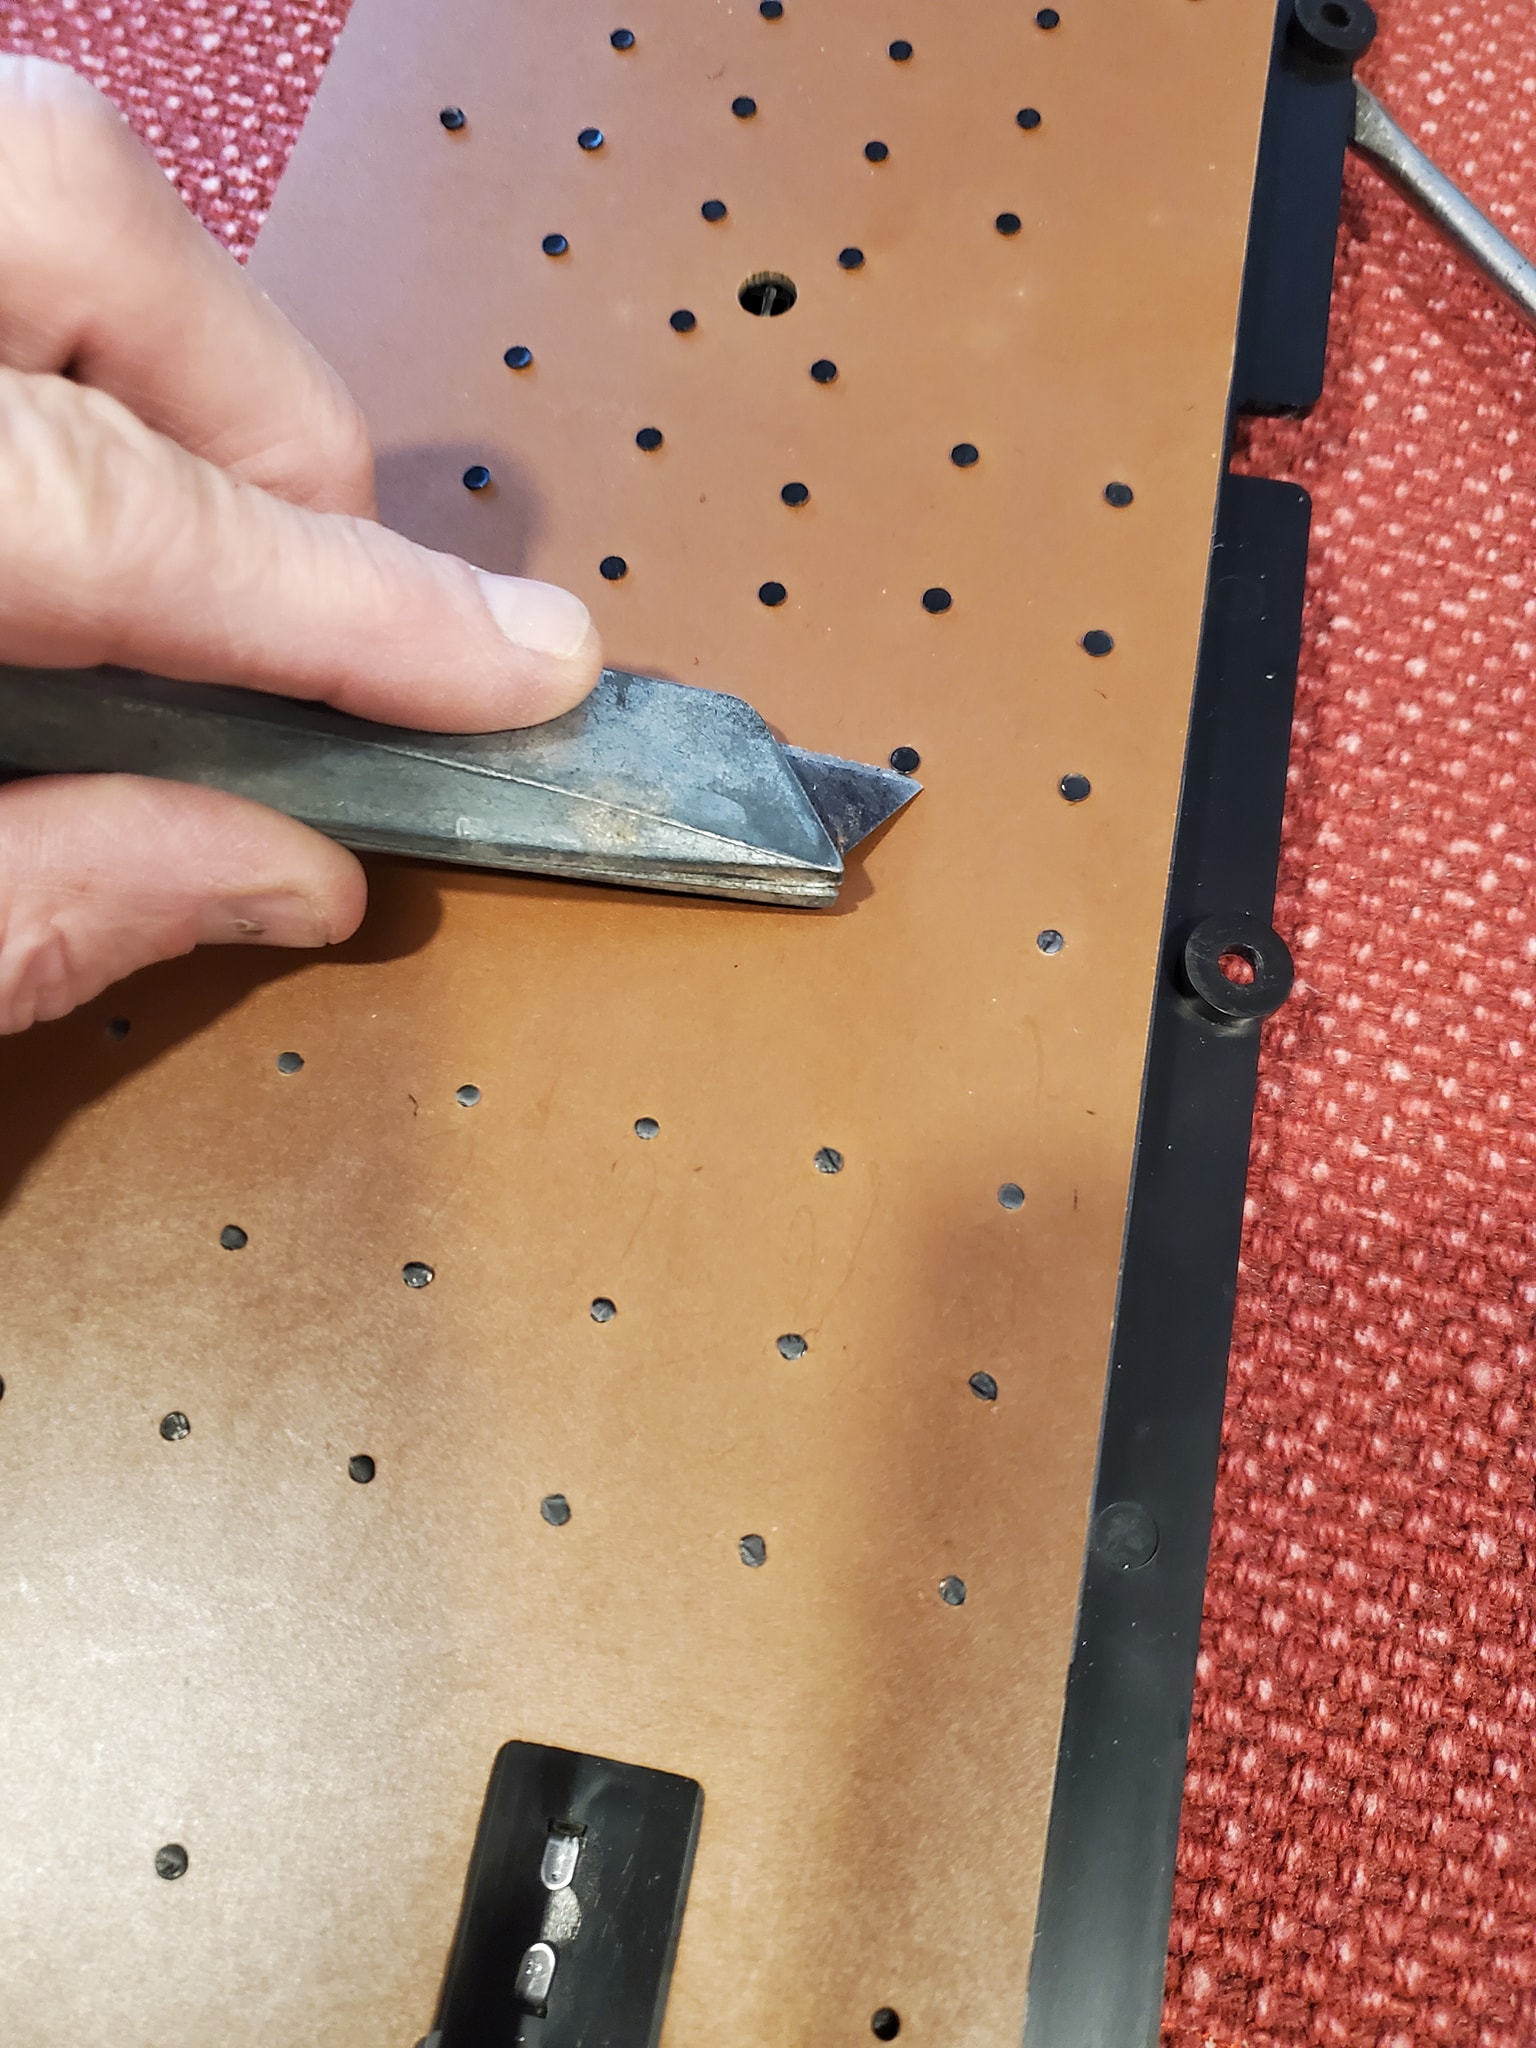
First, remove all of the keys and large springs on the top-side of the keyboard so that entire plastic keyboard structure can be washed and cleaned (later in the process). To do this, I used a box cutter knife to break off (just the tips!) all the plastic melted fasteners on the underside of the keyboard.
2.
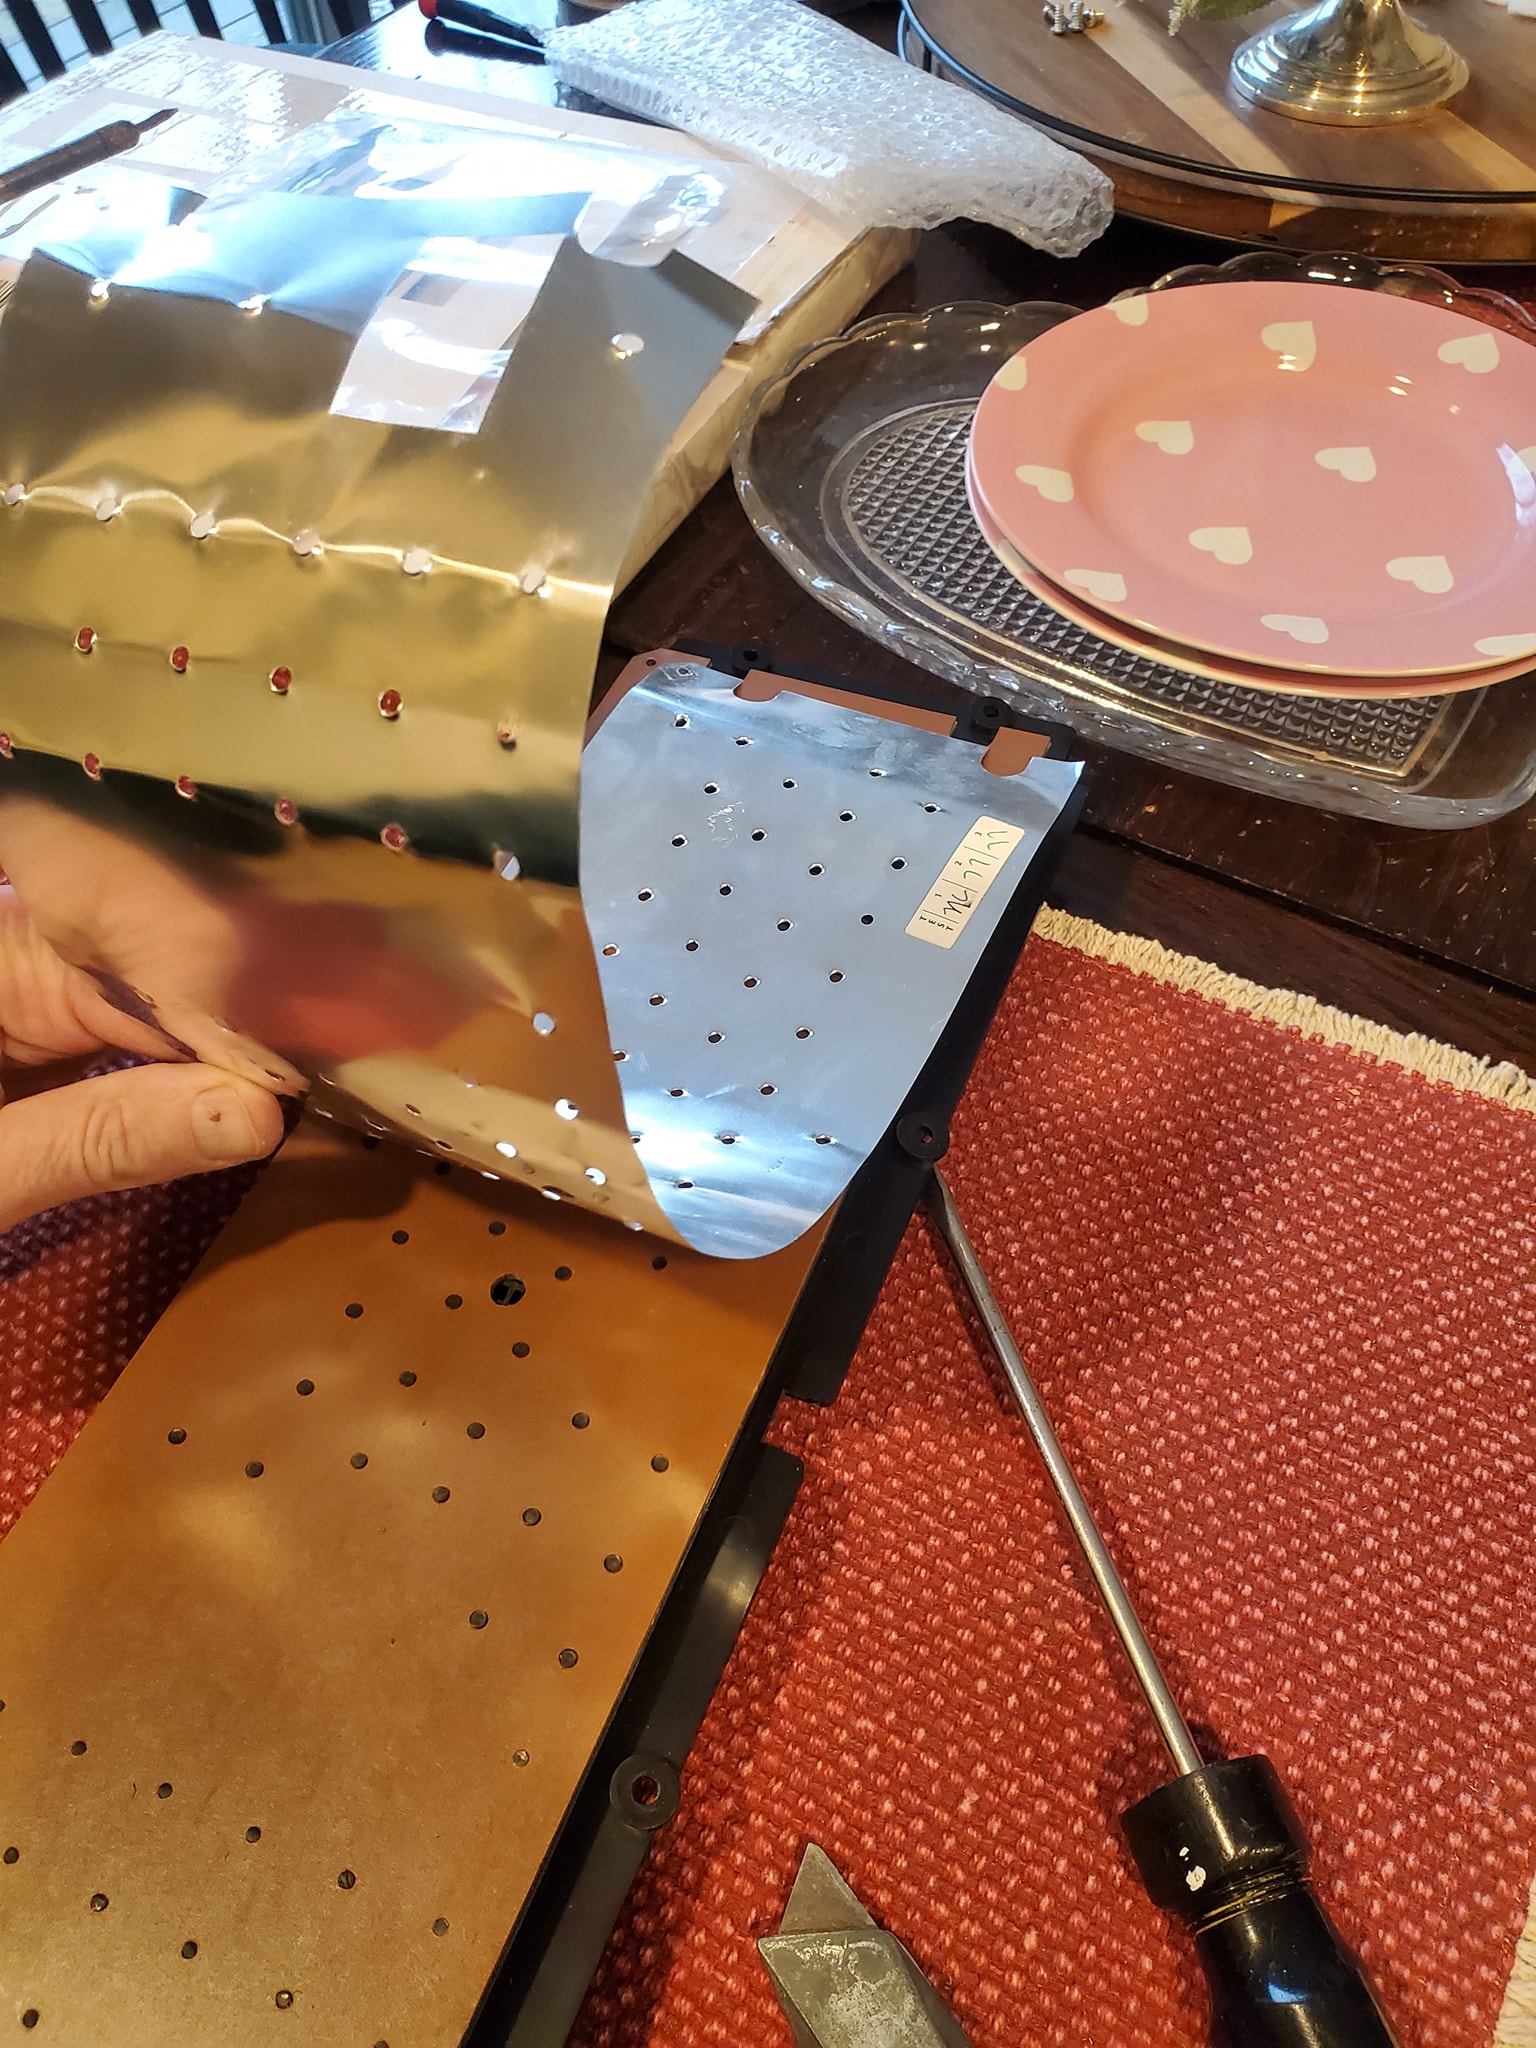
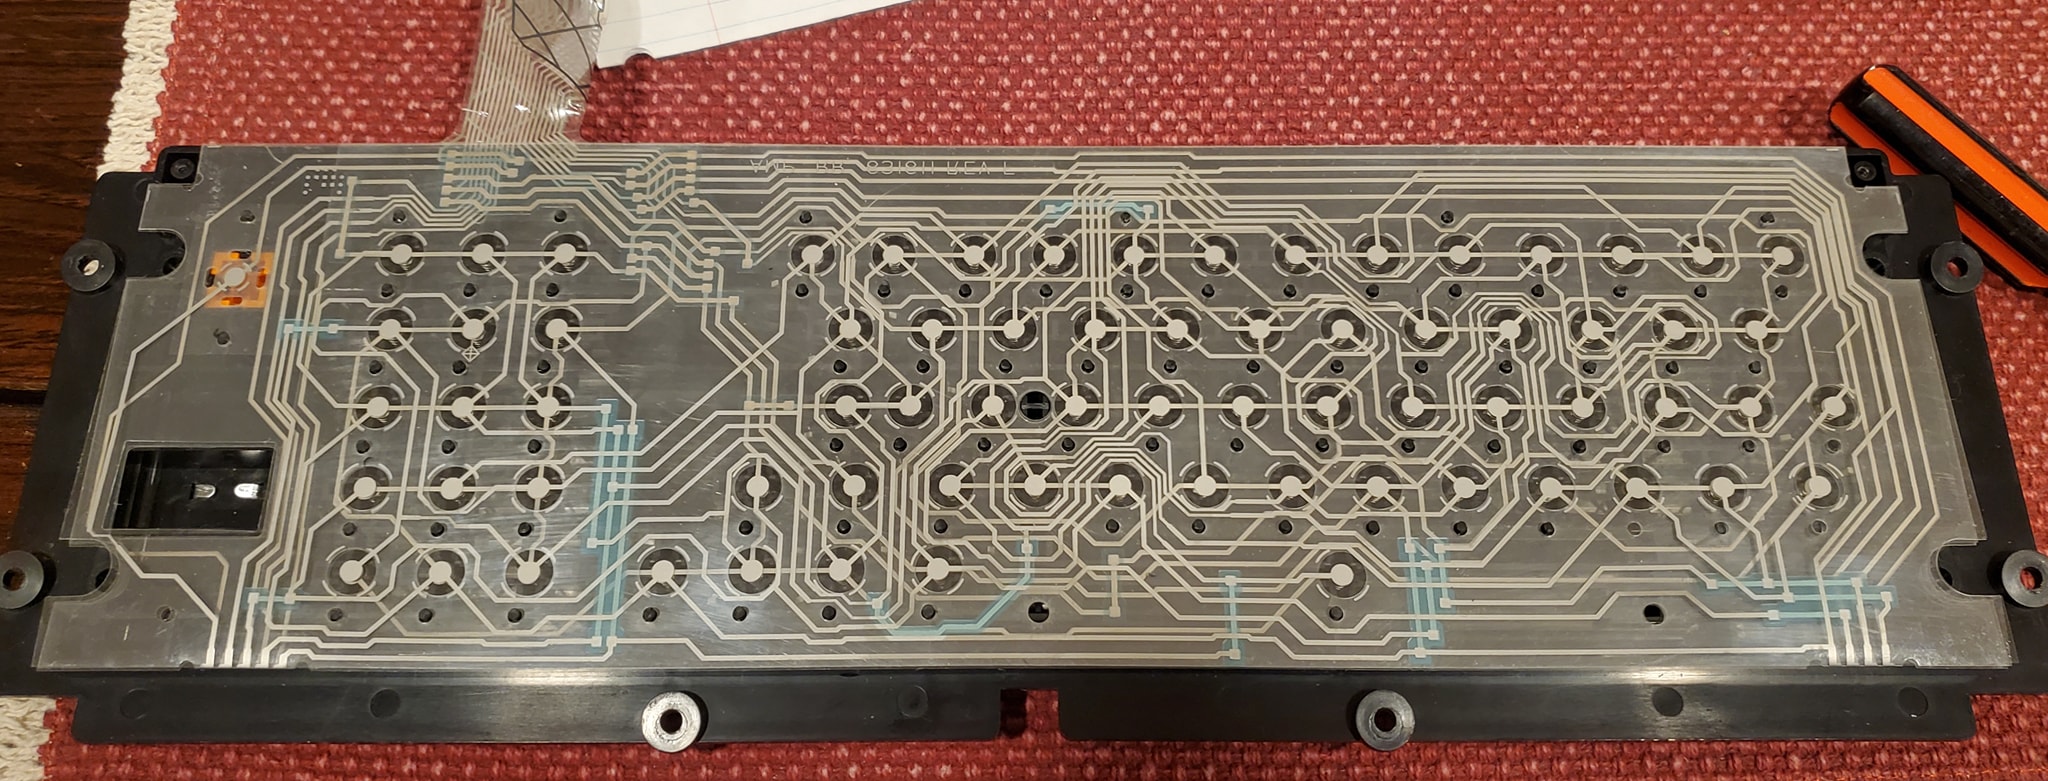
Carefully pry off the metal backing plate, followed by removing the “formica-like” (e.g., circuit board material) backing plate.
Be VERY careful not to crack this thick plate because it provides essentiaL support for the keyboard membrane.
Also, when separating this backing plate you need to be very slow and careful so as to not break any of the plastic pegs. These are essential to hold everything together!
3.
After removing the backing plate, remove the first membrane mylar sheet. It is important to keep track of each mylar sheet for correct re-assembly. This first sheet has large holes around each key location which serve to provide a landing spot for each small “under key” spring (more on these later).
4.
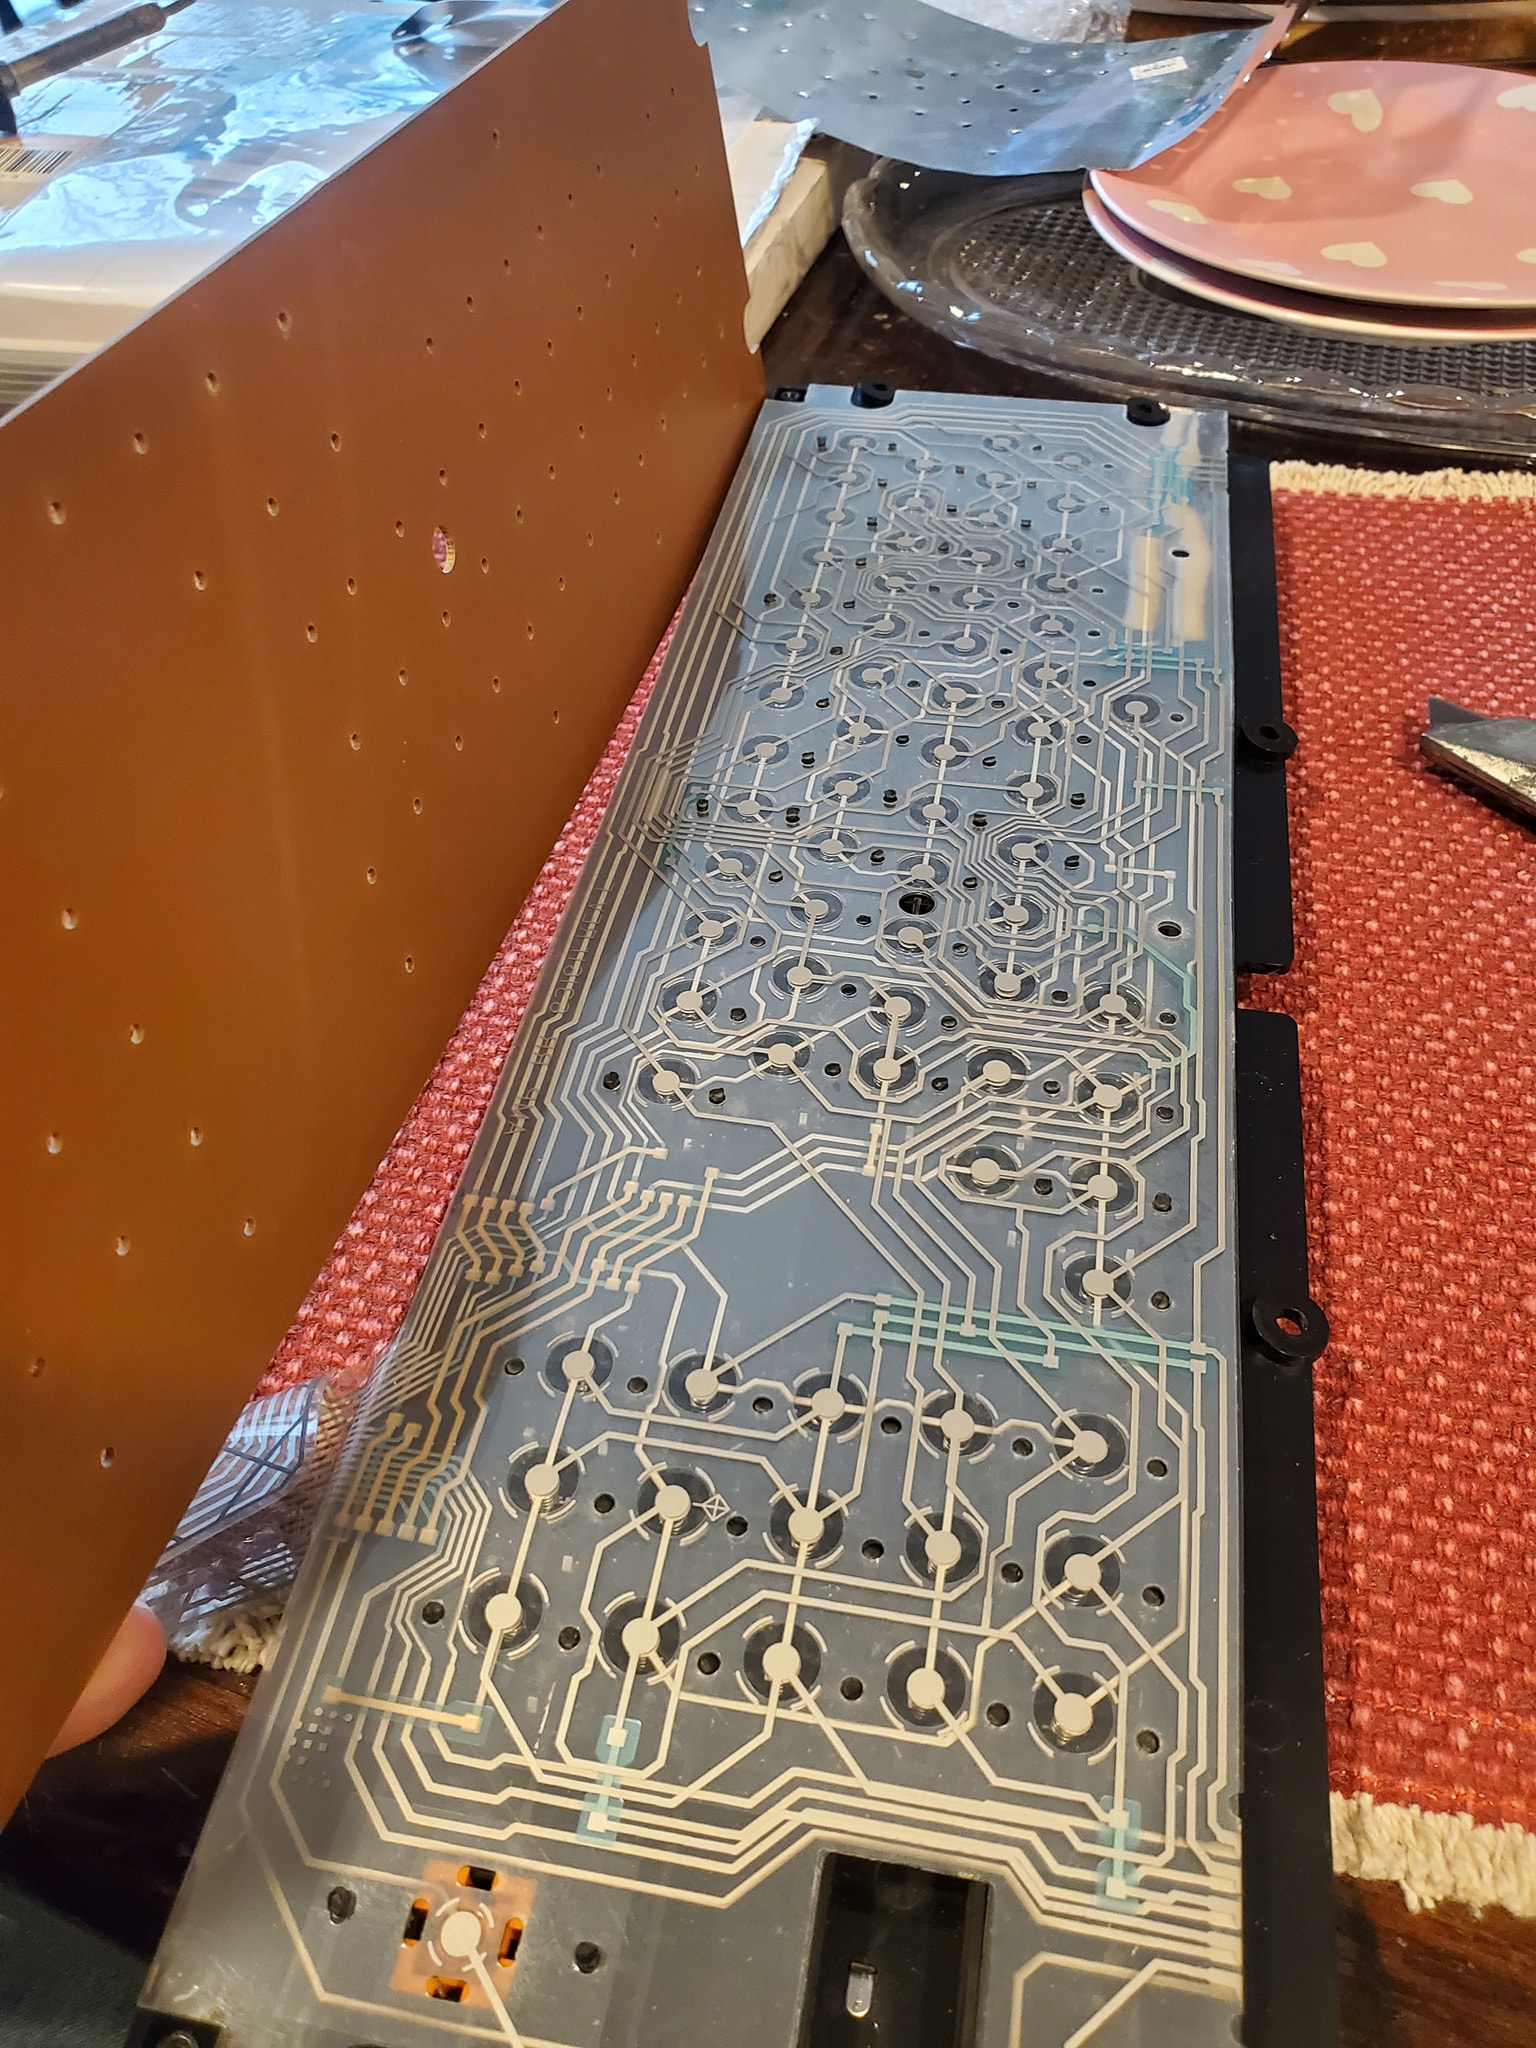
Remove the remainder of the membrane assembly, which consists of two layers of mylar with circuit traces running all over, and a clear blank mylar sheet that is exactly like the first sheet which was removed. The difference is that this sheet lies between the latter two circuit sheets. The purpose of this “spacer” membrane sheet is to provide a slight separation of the switch pads that are painted onto the circuit sheetsand also to prevent random keystrokes from occuring from vibration when other keystrokes occur.
5.
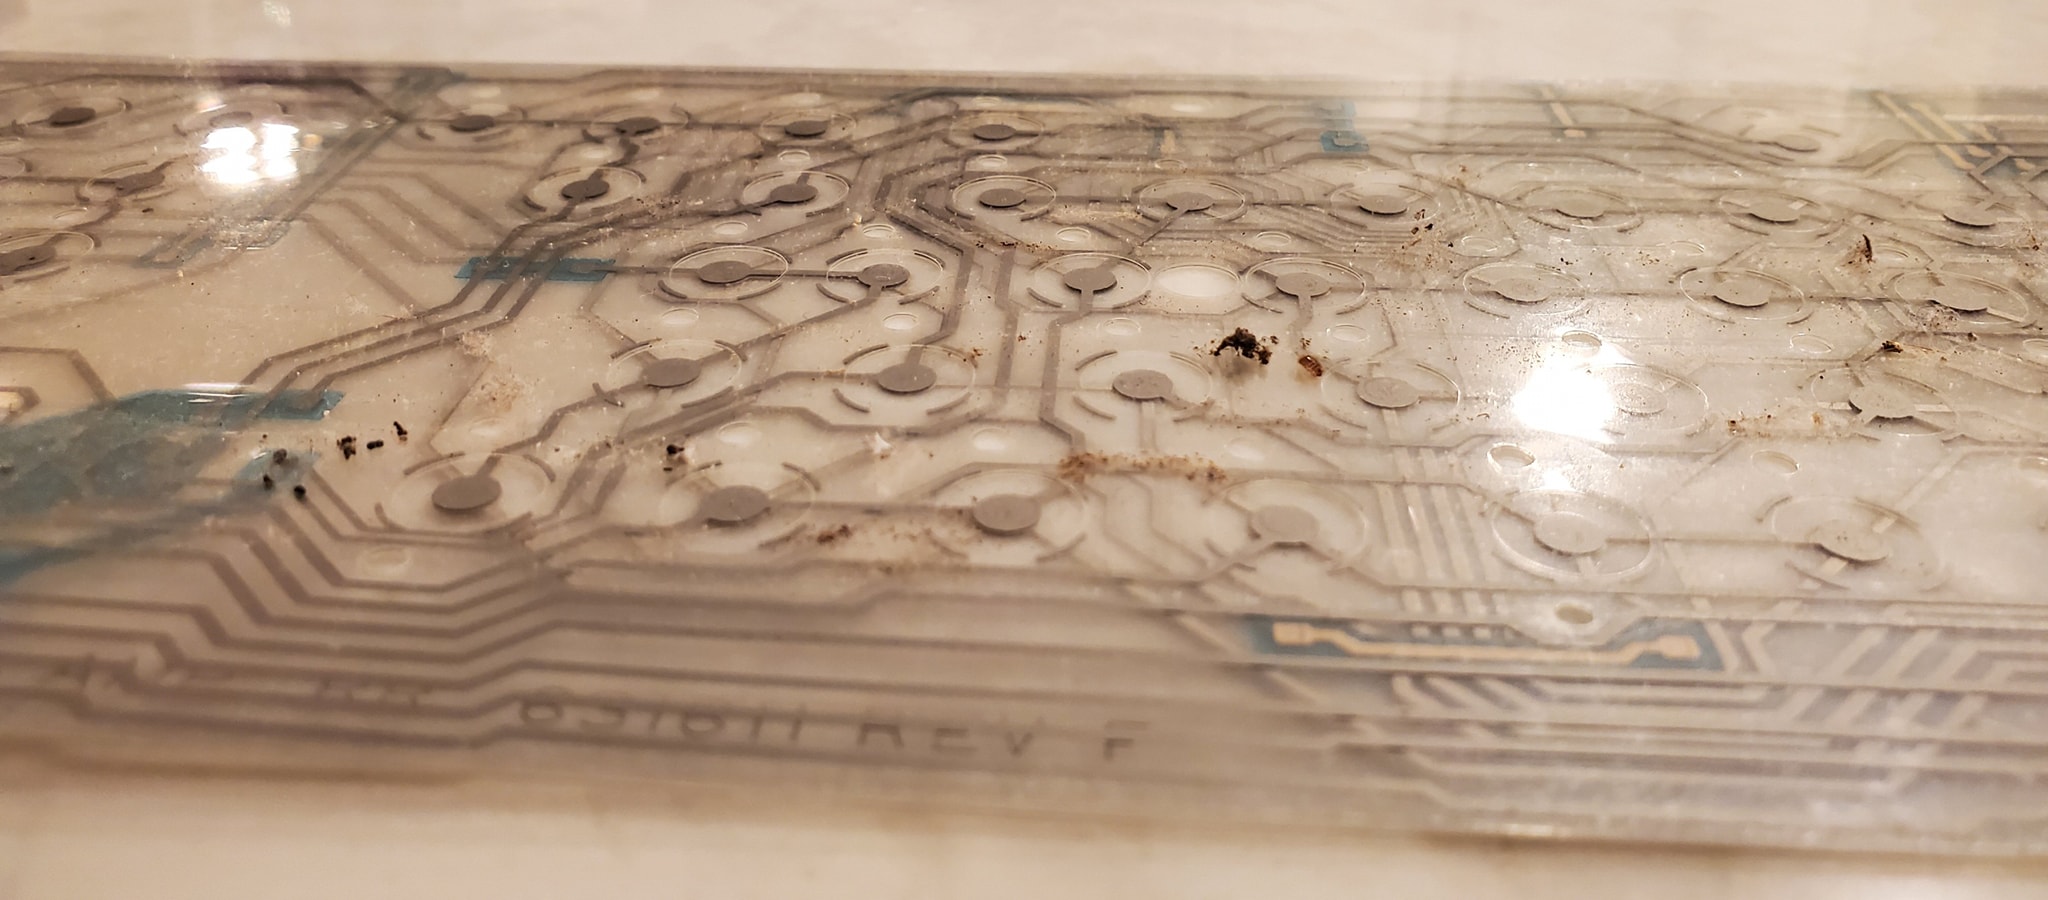
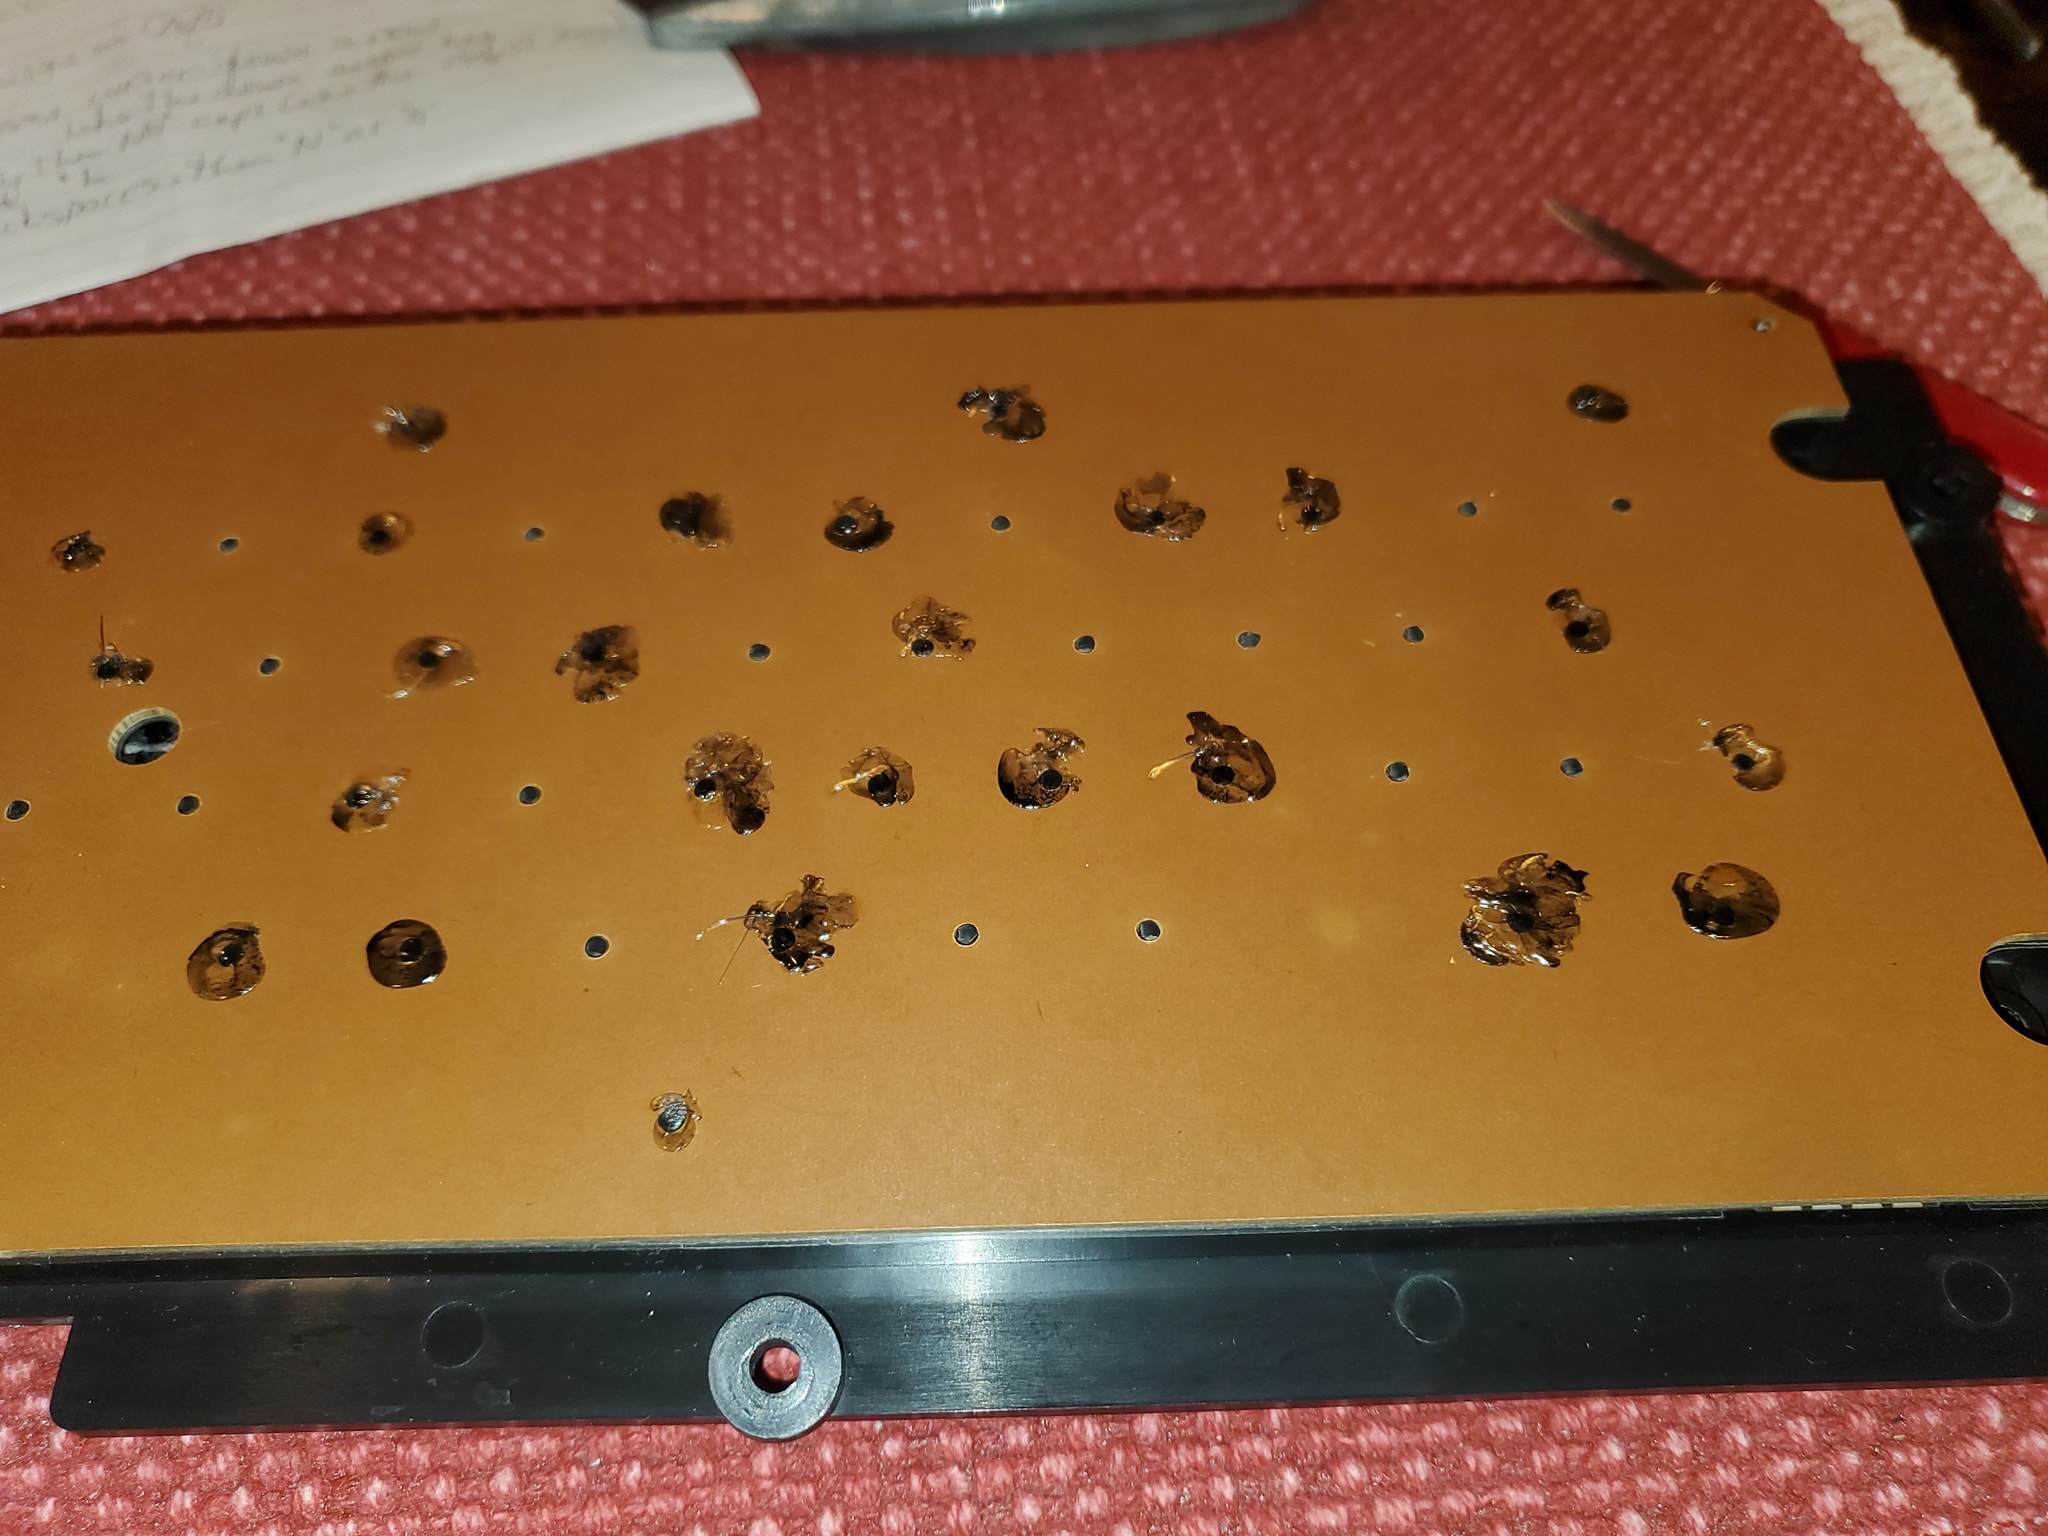
Carefully unfold the two circuit membranes. When I did this, I found all sorts of contaminants (bugs, spider parts, etc.) within these membranes.
6.
Gently clean the surfaces of both membranes. I used a product called Novus #2, which is a combination of a very mild abrasive and mild wax.
7.
With the cleaning done, make a full inspection of all the circuit traces to ensure none were broken.
8.
Close the membranes back together ensuring the spacer sheet is in between as it should be.
9.
Plug the cable into your Model 4GA to test any problem keys. To test my known-bad keys, I touched the spots on the mylar where the keyspots make contact.
10.
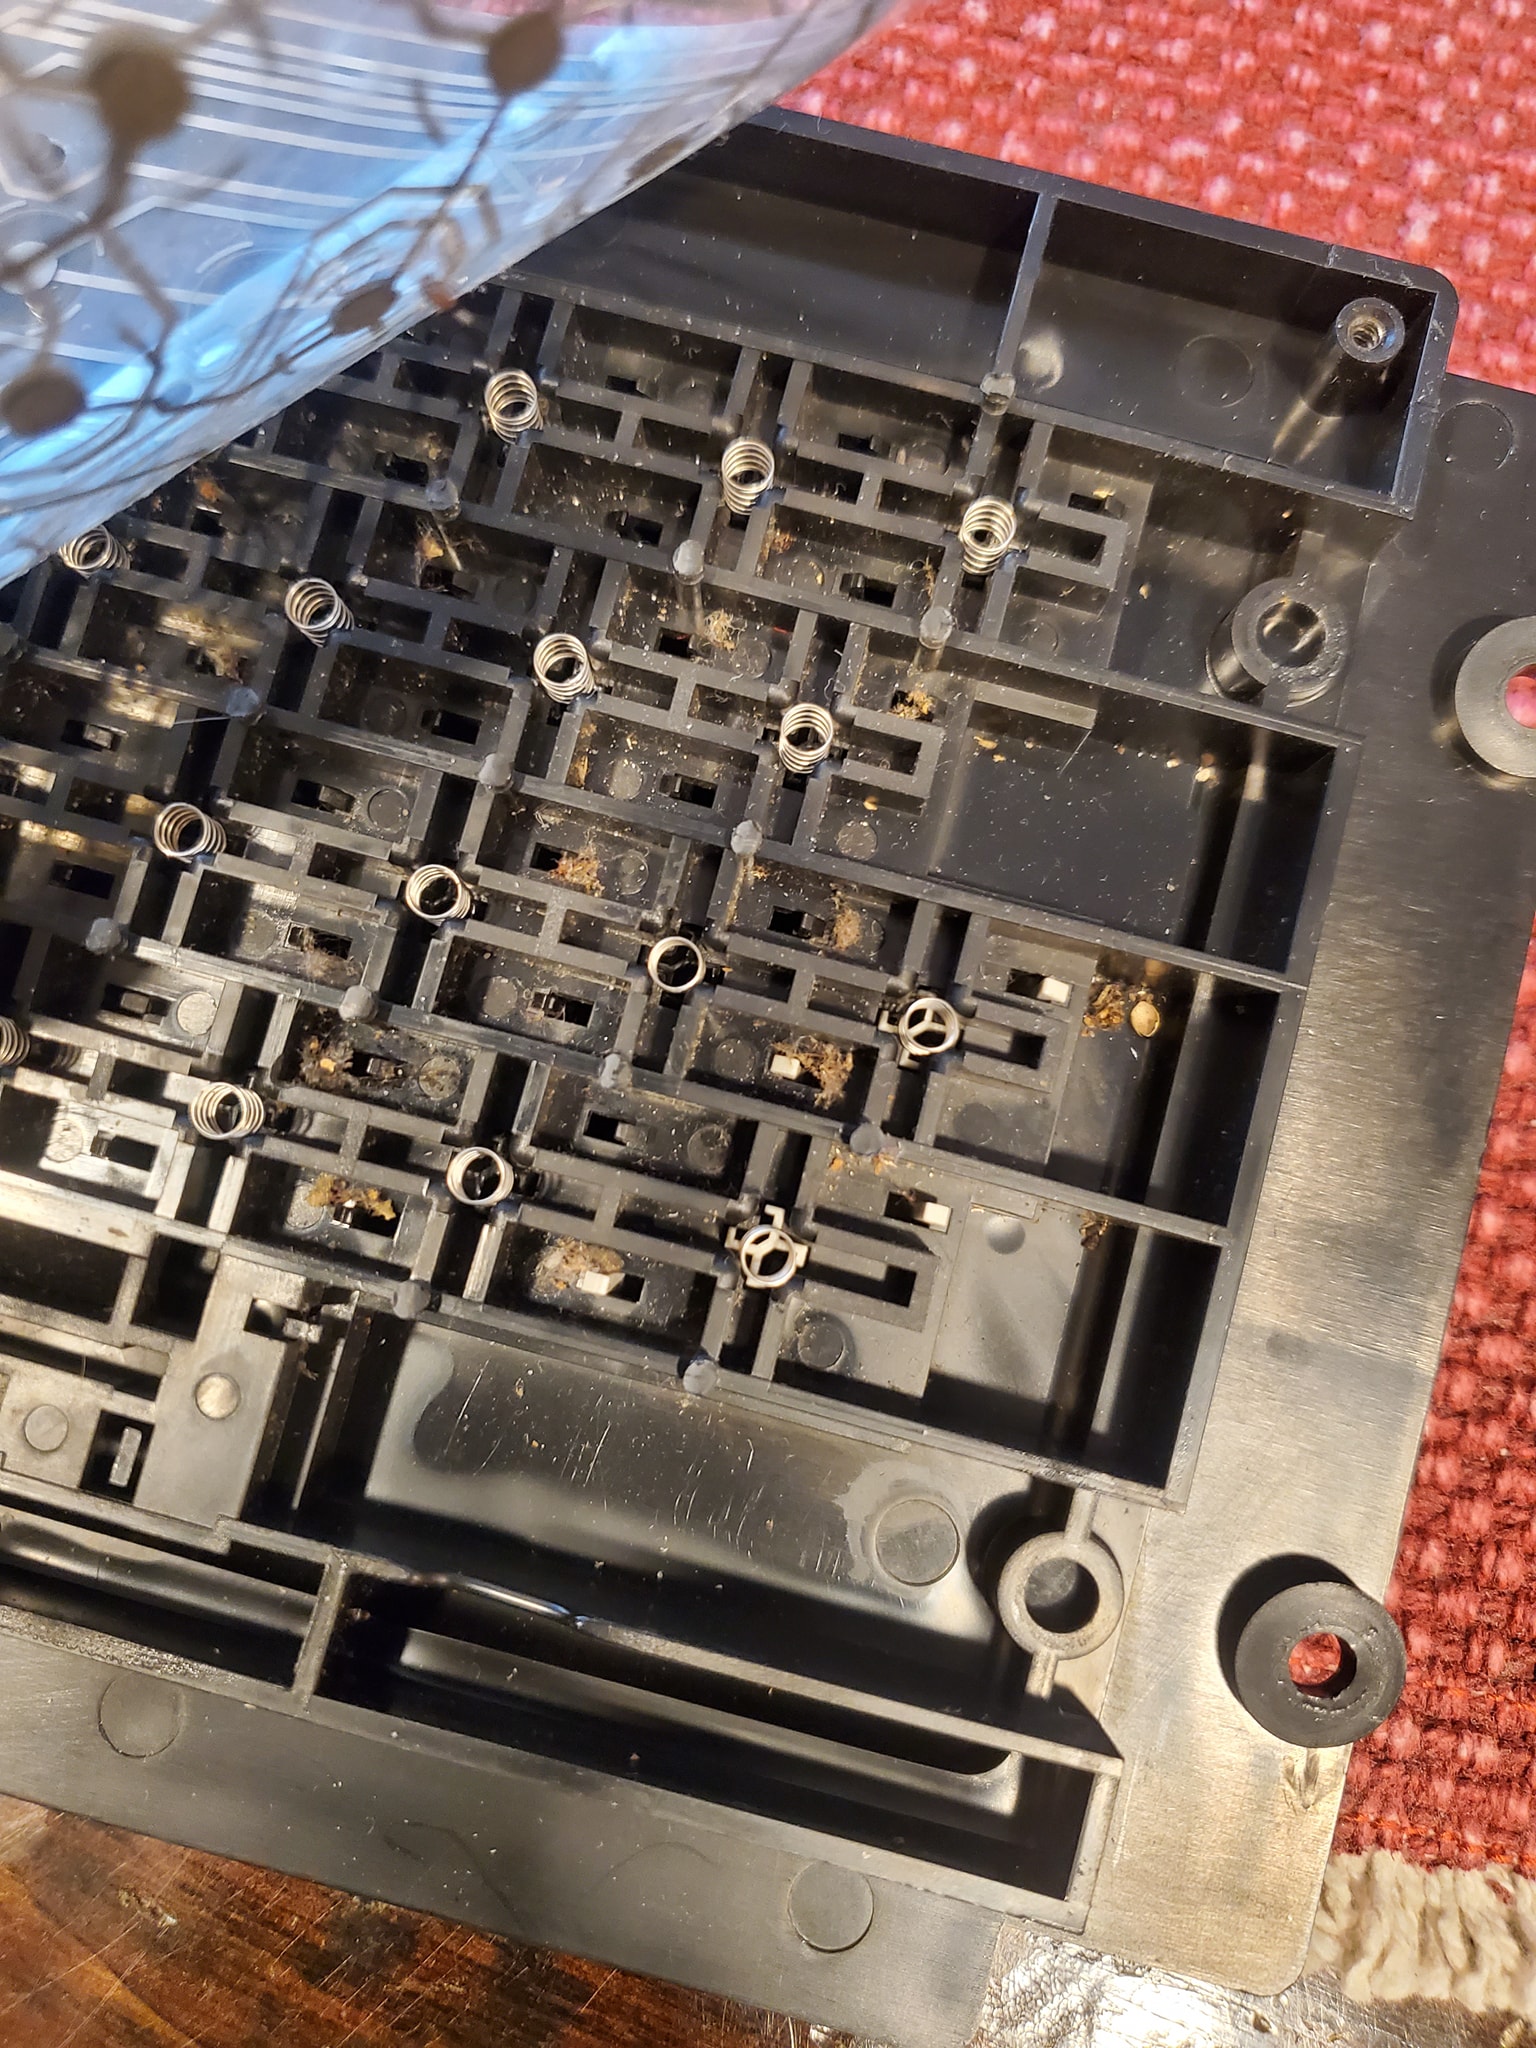
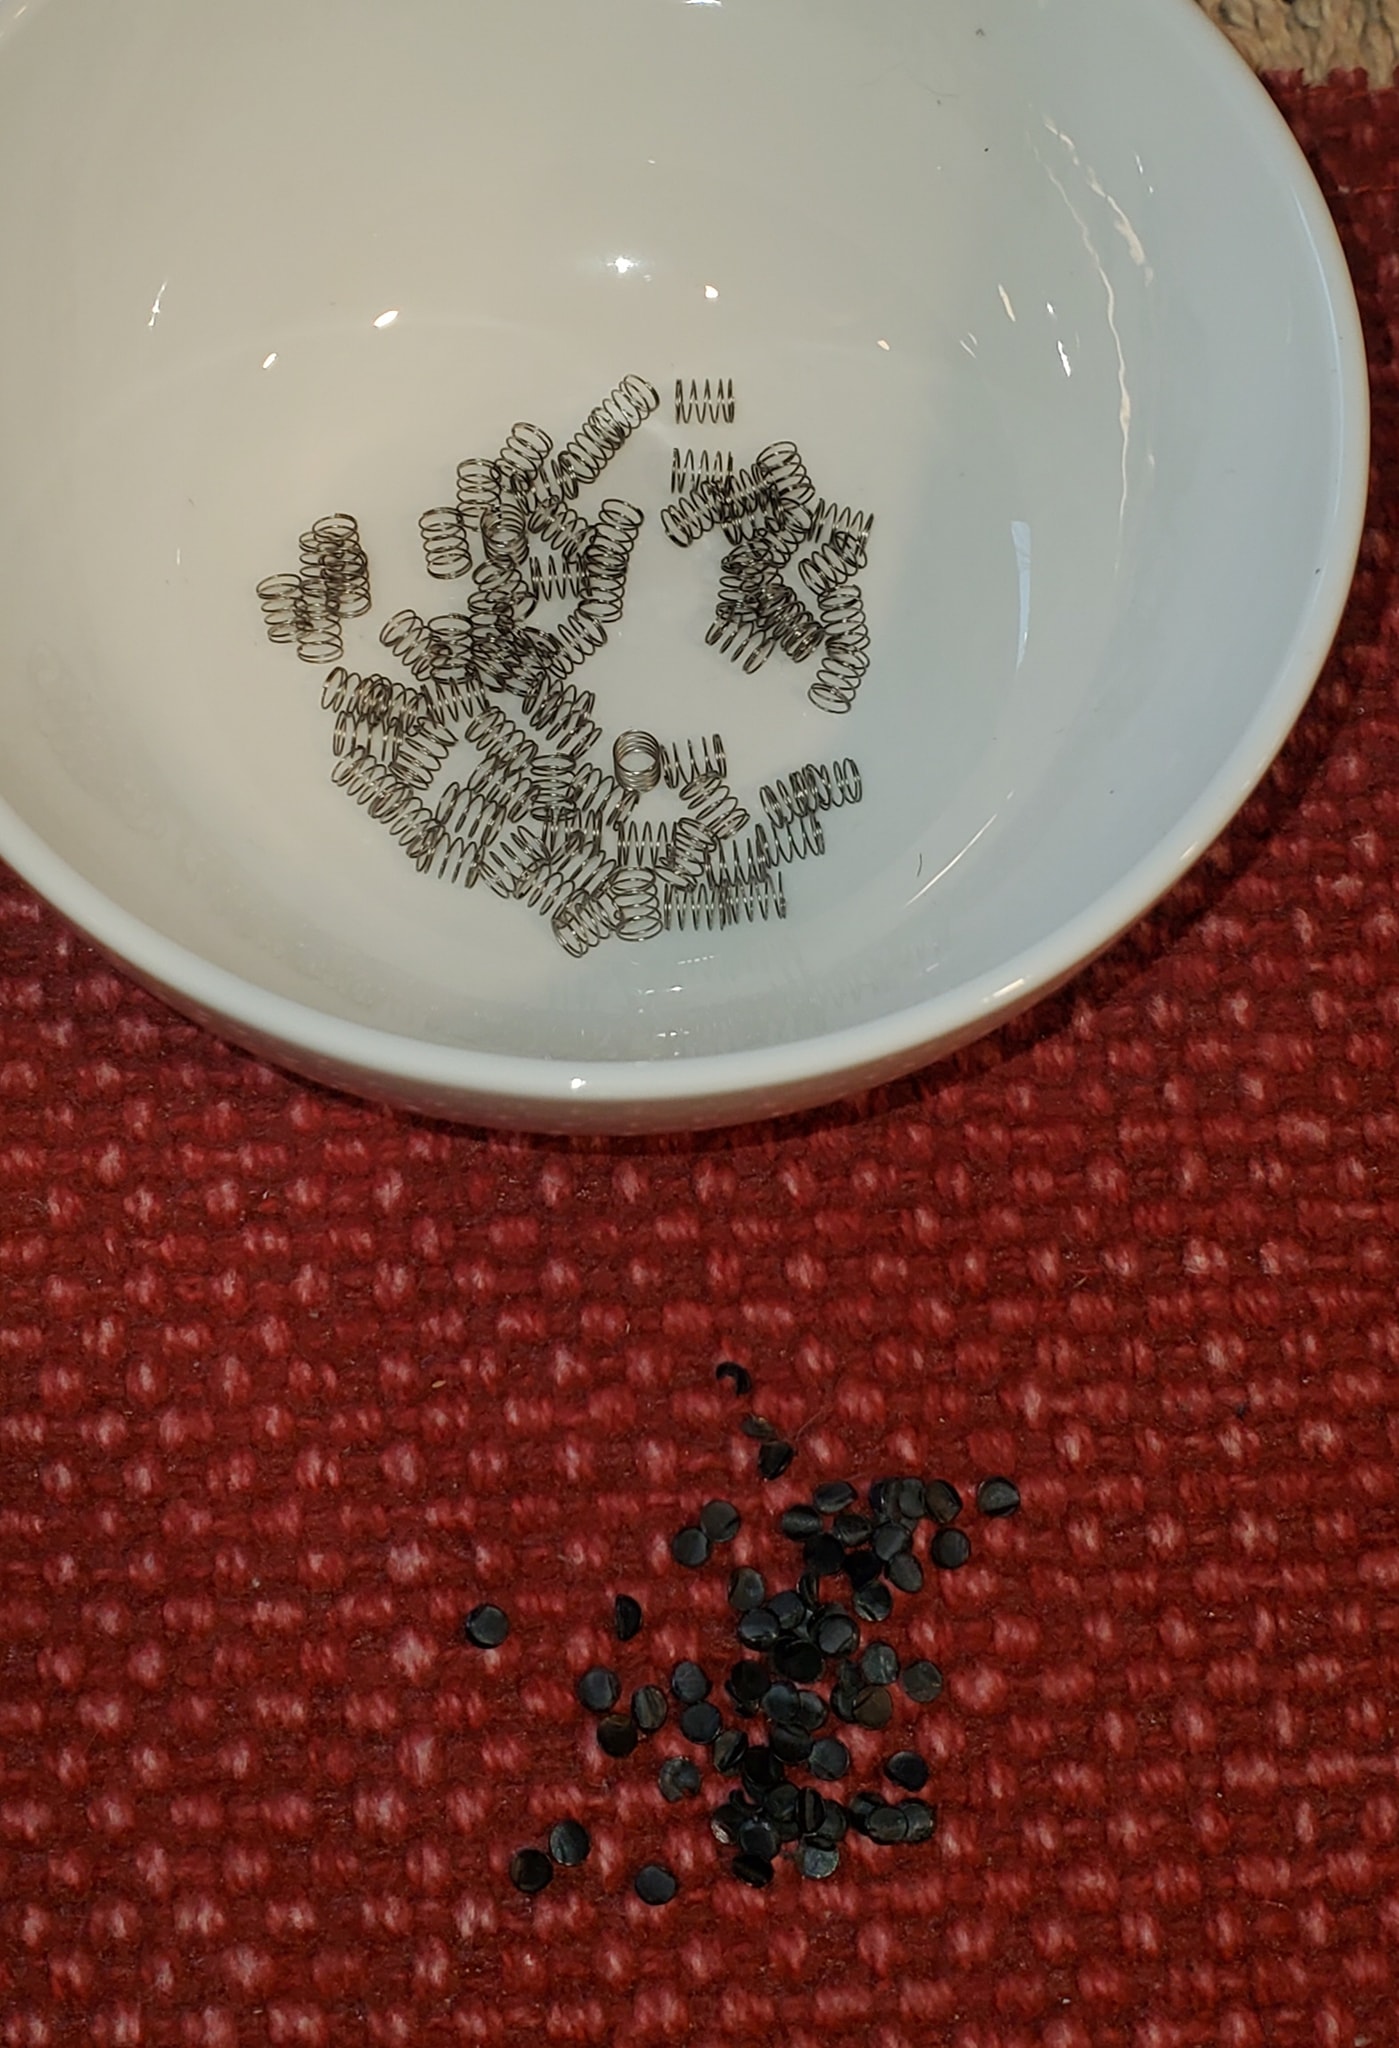
Next we want to clean the large plastic keyboard structure. First, remove each tiny “under key” spring, making certain not to lose any of them. I recommend placing them into a small bowl for safe-keeping.
11.
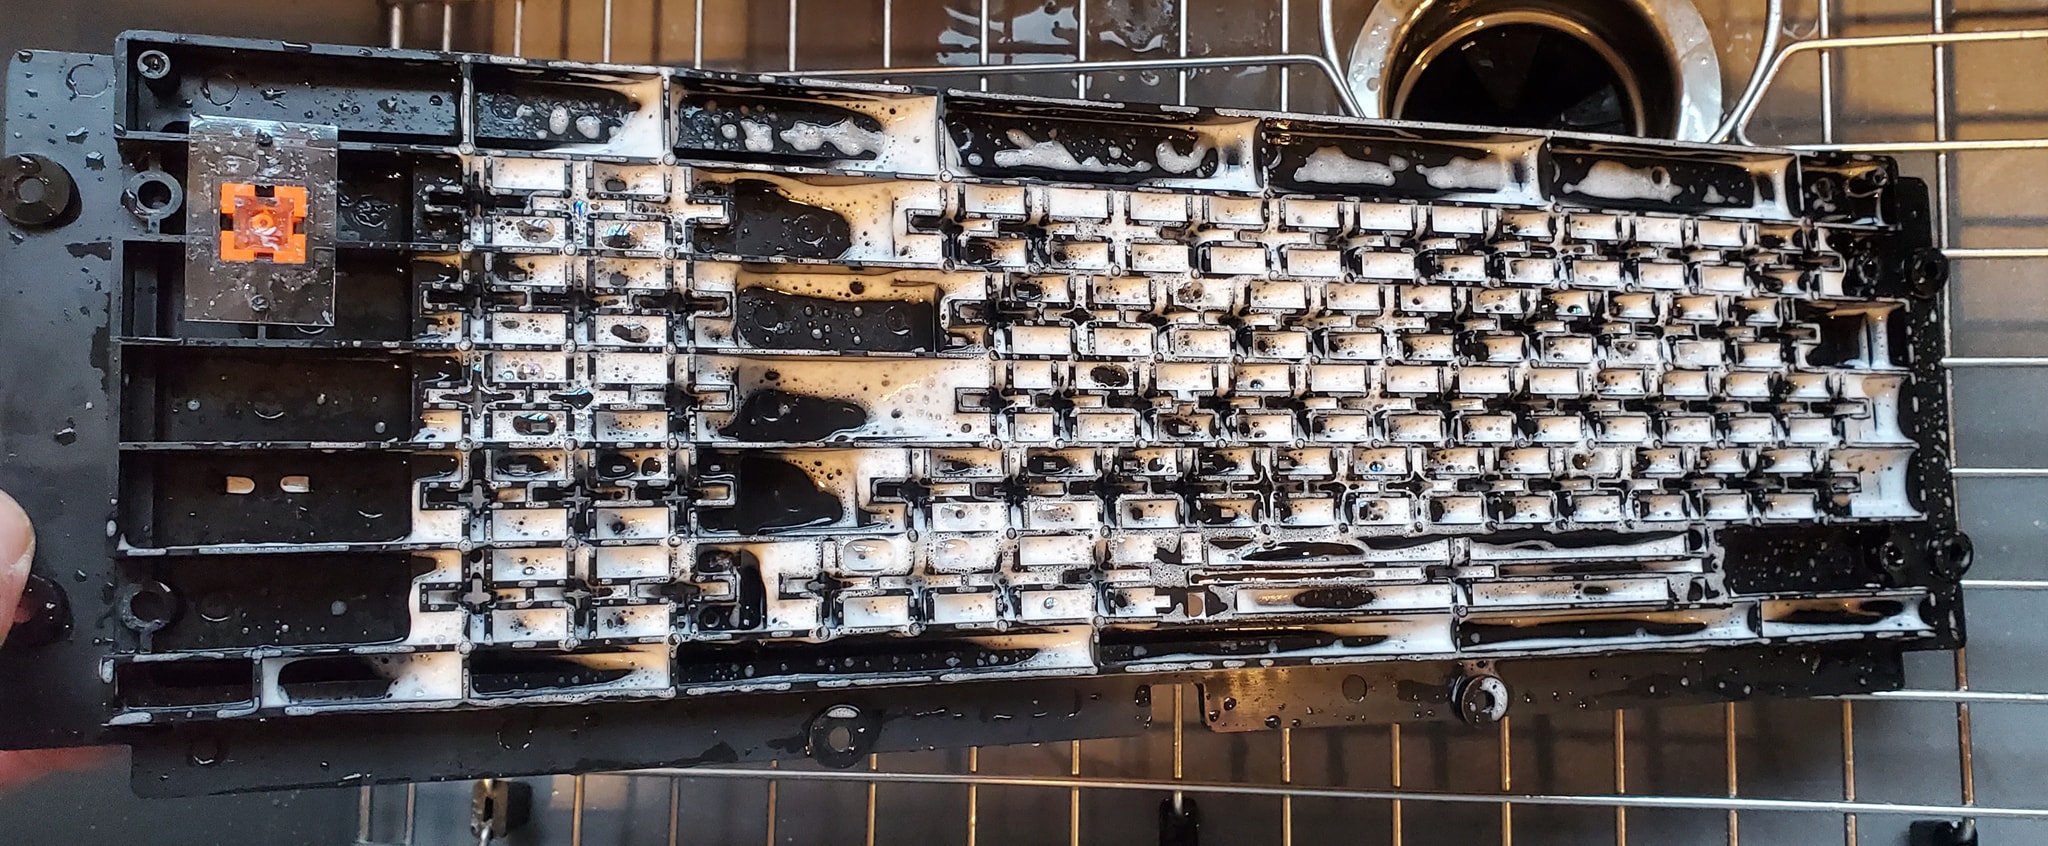
At this point, with the tiny springs removed, I used a light brush and dishwashing liquid to clean all of the aforementioned guck out of the large plastic keyboard structure. Rinse and dry.
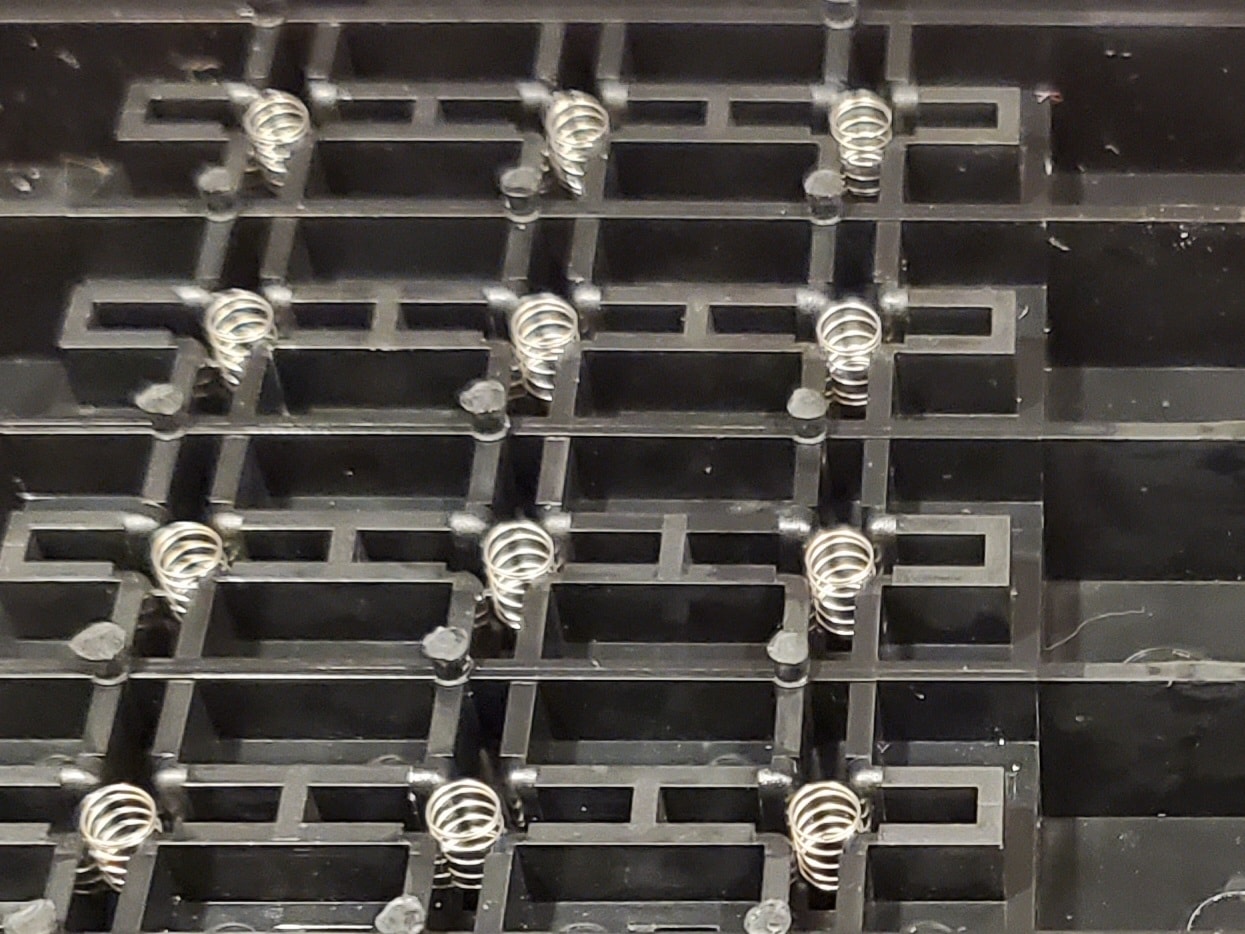
12.
Now to put everything back together …Carefully replace each and every tiny spring, then align and placed the membrane assembly back into the plastic keyboard structure, making certain each and every hole meets up with its corresponding plastic peg.
13.
Replace the other mylar spacer sheet, also ensuring to match it up with each plastic peg.
14.
Place the backing plate back on, aligning it to every plastic peg just like the other sheets. Because I was originally careful cutting the plastic peg tips off, the backing plate went back on quite snugly.
15.
Add the foil backing plate in the same manner.
16.
I then used a glue stick as a replacement way to add back the plastic tips I’d cut off. It seemed to work.
17.
Test the keyboard one more time, and, if all is good, reinstall it into your TRS-80.